Wednesday, February 25, 2015

She's a Driver!

The first bit of good news is that I solved the brake problem.  Thanks to the internet, I got in touch with some people who told me what the problem might be and then got me connected with a shop that sold me the part I needed.  The problem was that, when I went to the dual bowl master cylinder, the stock push rod from the brake pedal to the master cylinder was too short.  Here is a picture of the stock part.  The eye fits over a pin on the brake pedal lever.  When you push on the pedal the rod pushes on the piston in the master cylinder on the other side of the firewall:


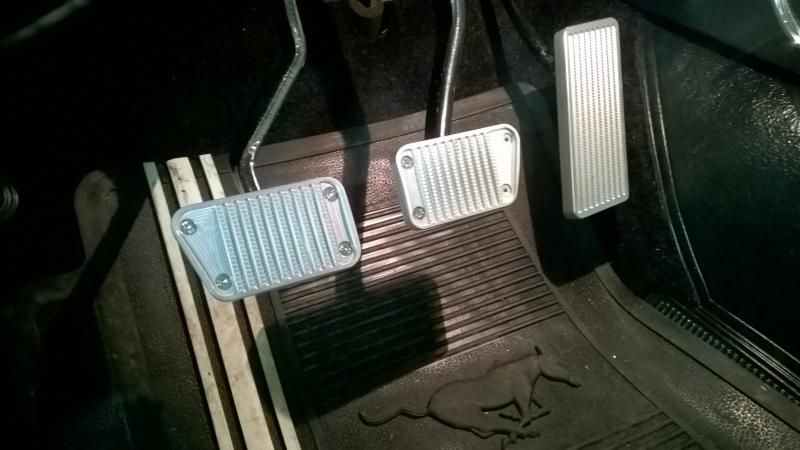
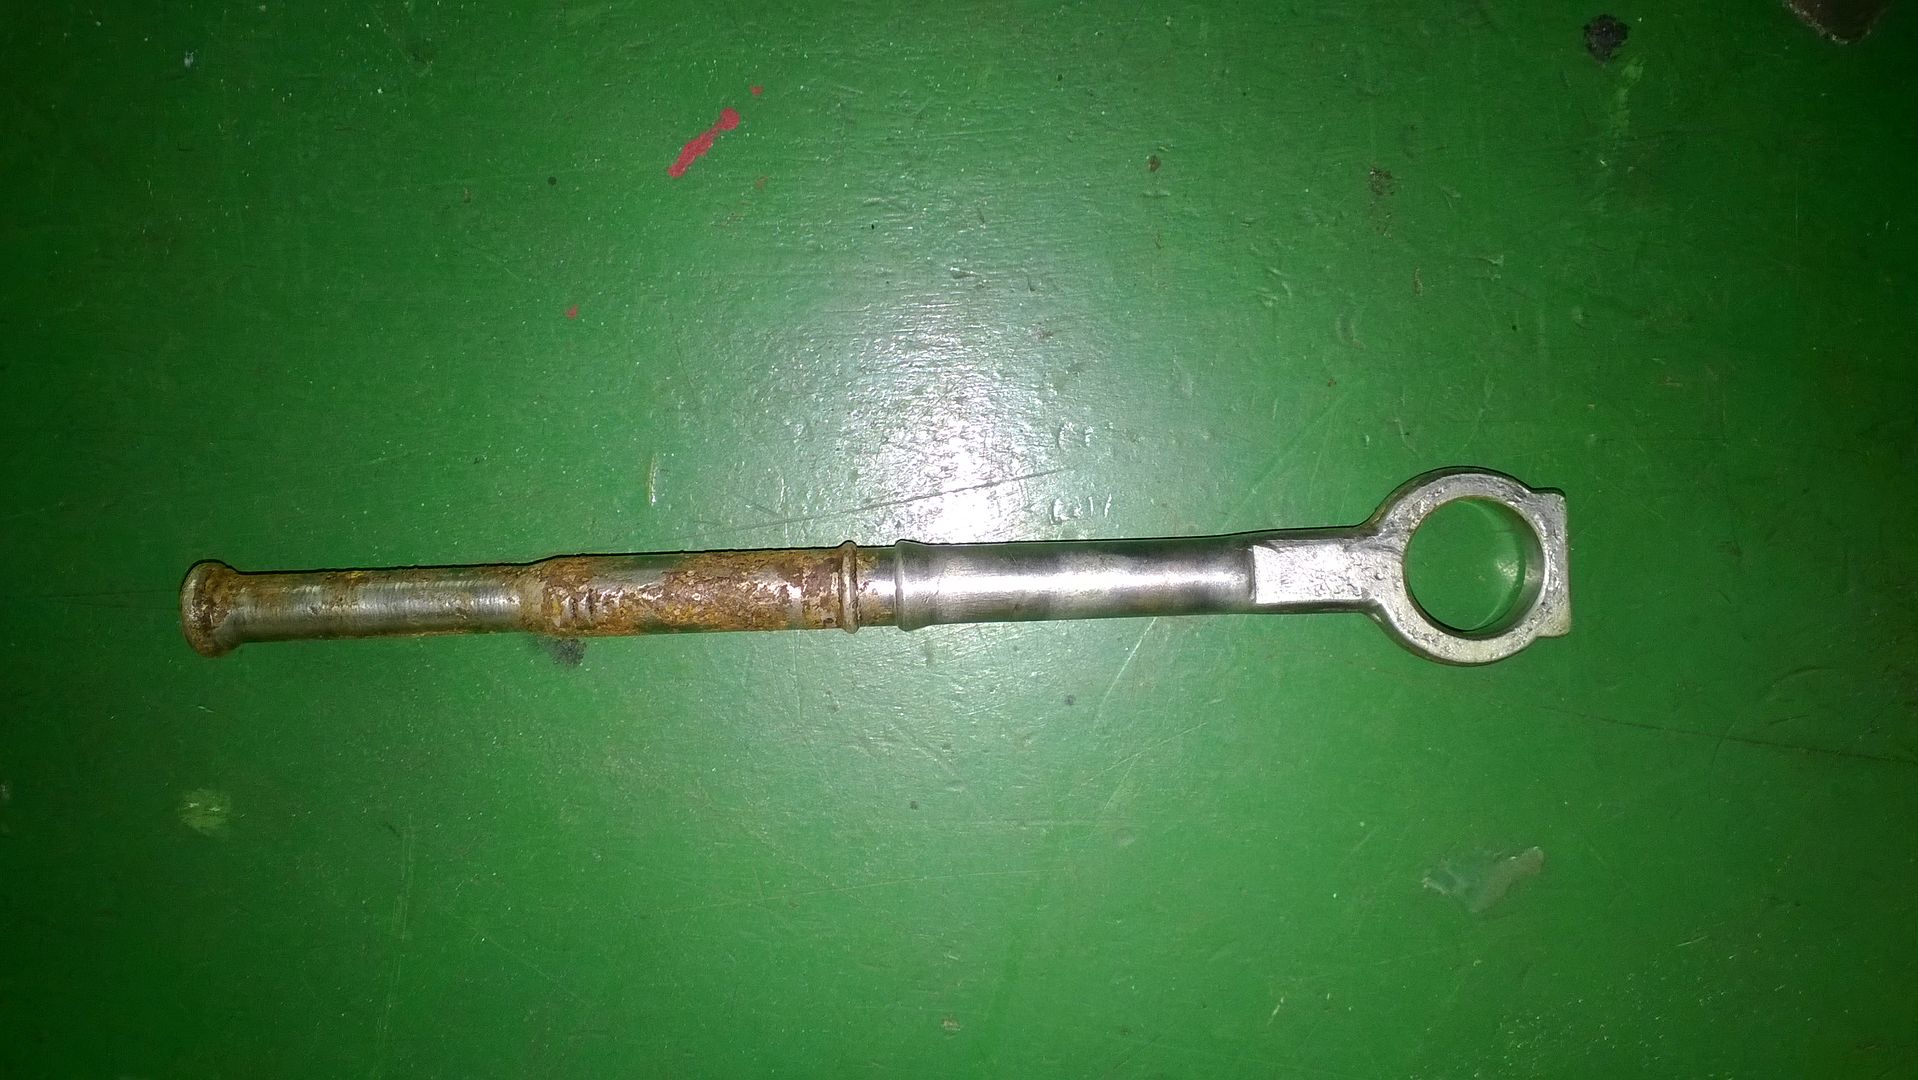
And here is a picture of the new part:


It has a turnbuckle-type arrangement that allows the length of the push rod to be adjustable.  Once I replaced the push rod with this one, I lengthened it until the brakes were just starting to drag and then backed it off a little.  Sounds easy enough, but working under the dash to get the old push rod out and the new one in and adjusted was an absolute pain, but the brake pedal was now high and firm.  The brake performance is still not quite what I would like to see, but I think that is because the pads need to conform to the rotors better.  I can see by the wear pattern in the rust on the rotors that they are not making 100% contact.  A few miles should do the trick. 

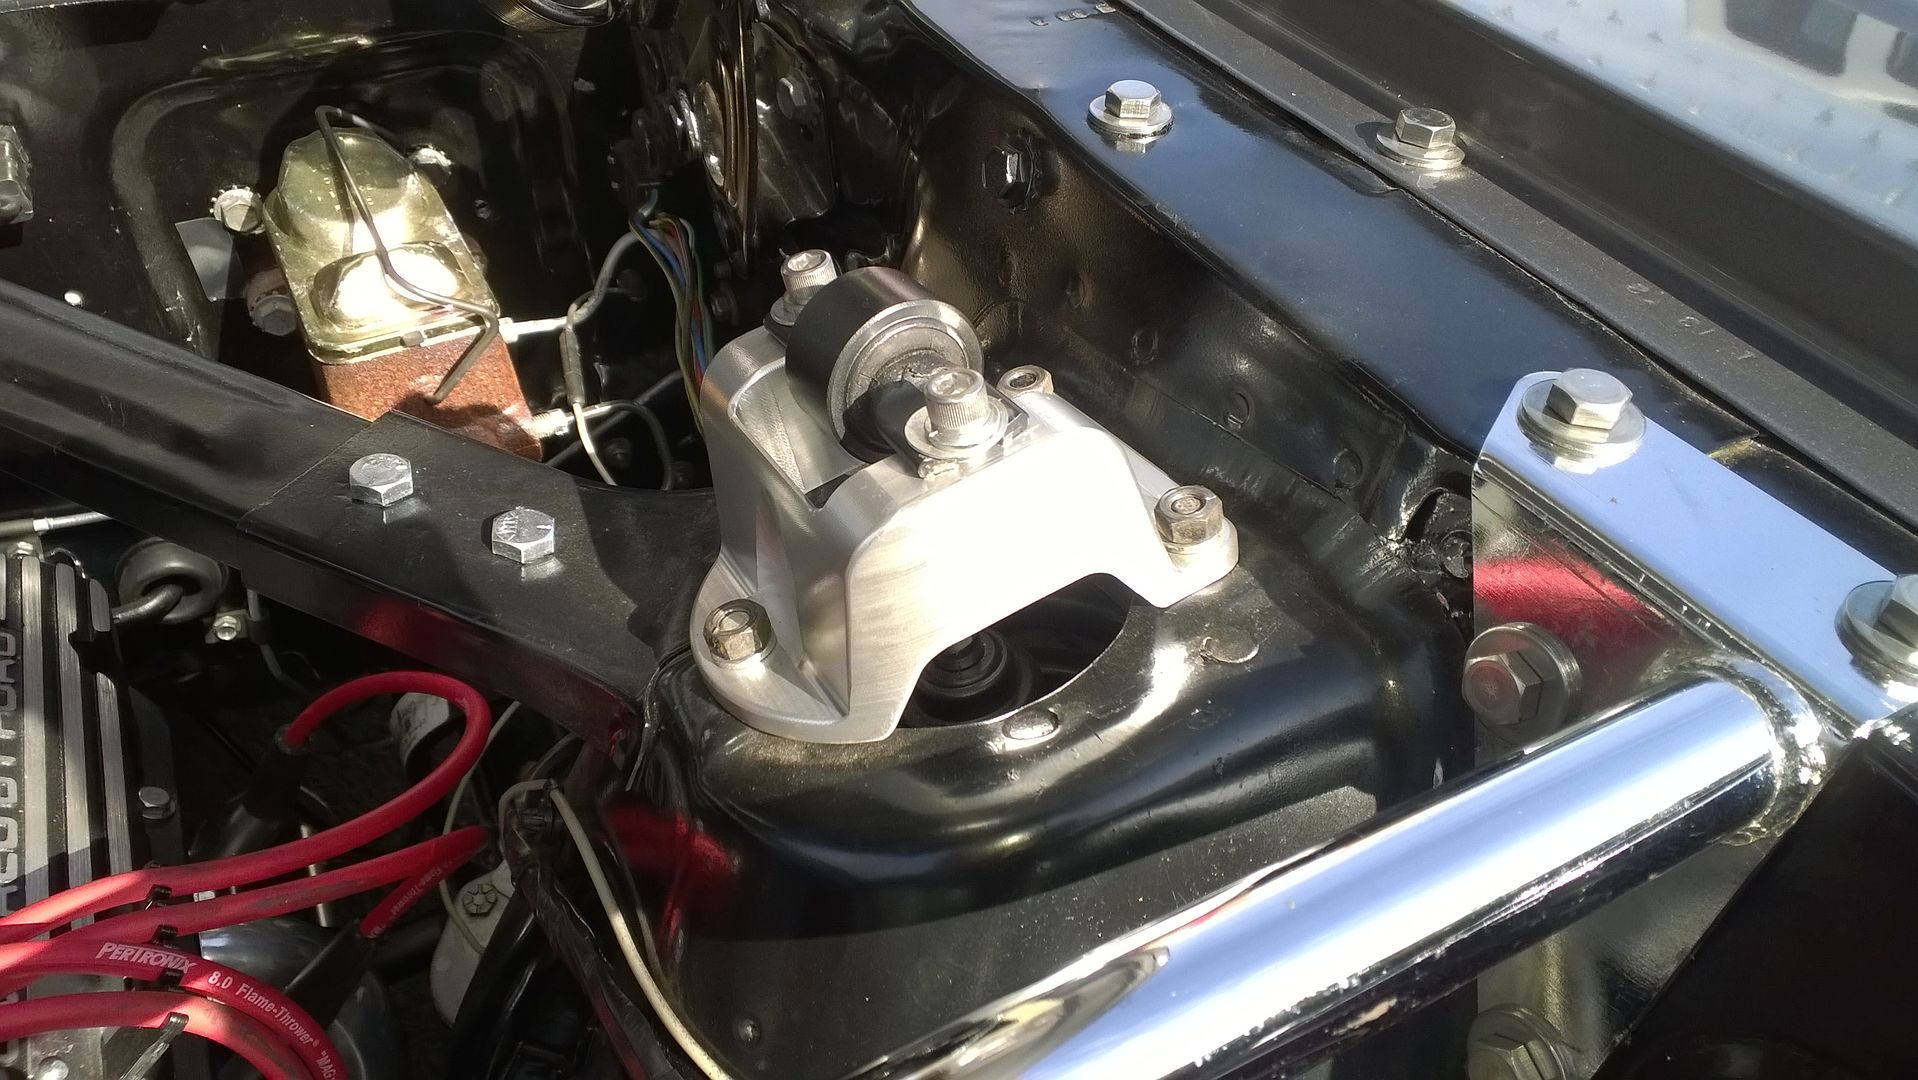
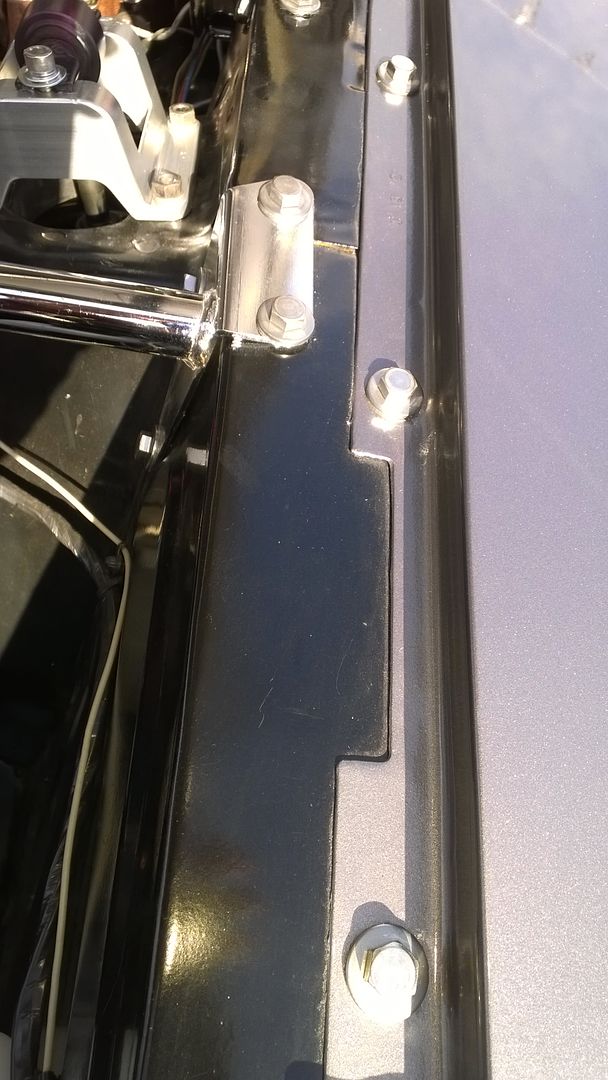
Now that I had that problem solved it was time to get the wheel alignment done and the exhaust system installed.  But first Brian came down and we added some more bling......... stainless steel fender bolts and billet aluminum upper shock brackets.


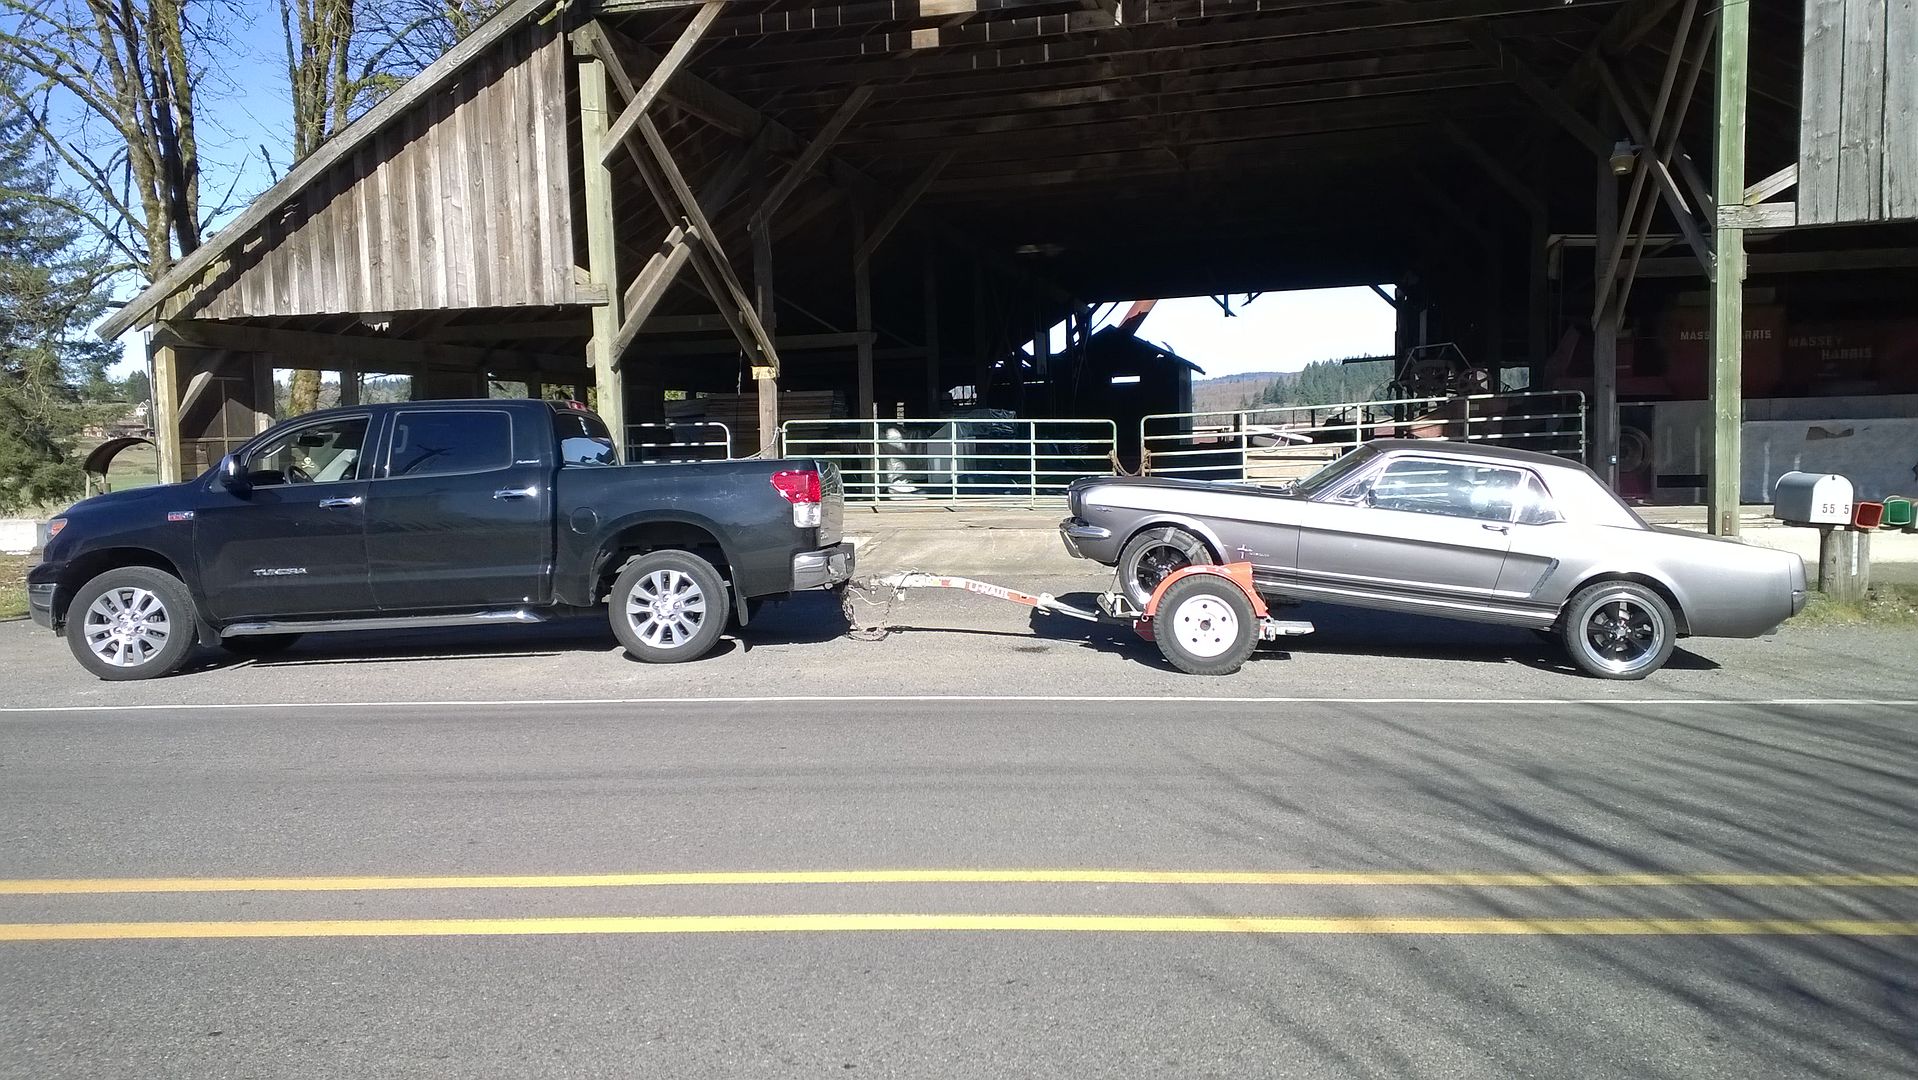
On Monday after Brian left I rented a U-haul car dolly, and using Brian's truck to pull it, I loaded up the car and hauled it to the engine builder to get the final adjustment on the distributor.  I guess I had it close, but it still needed some changes:


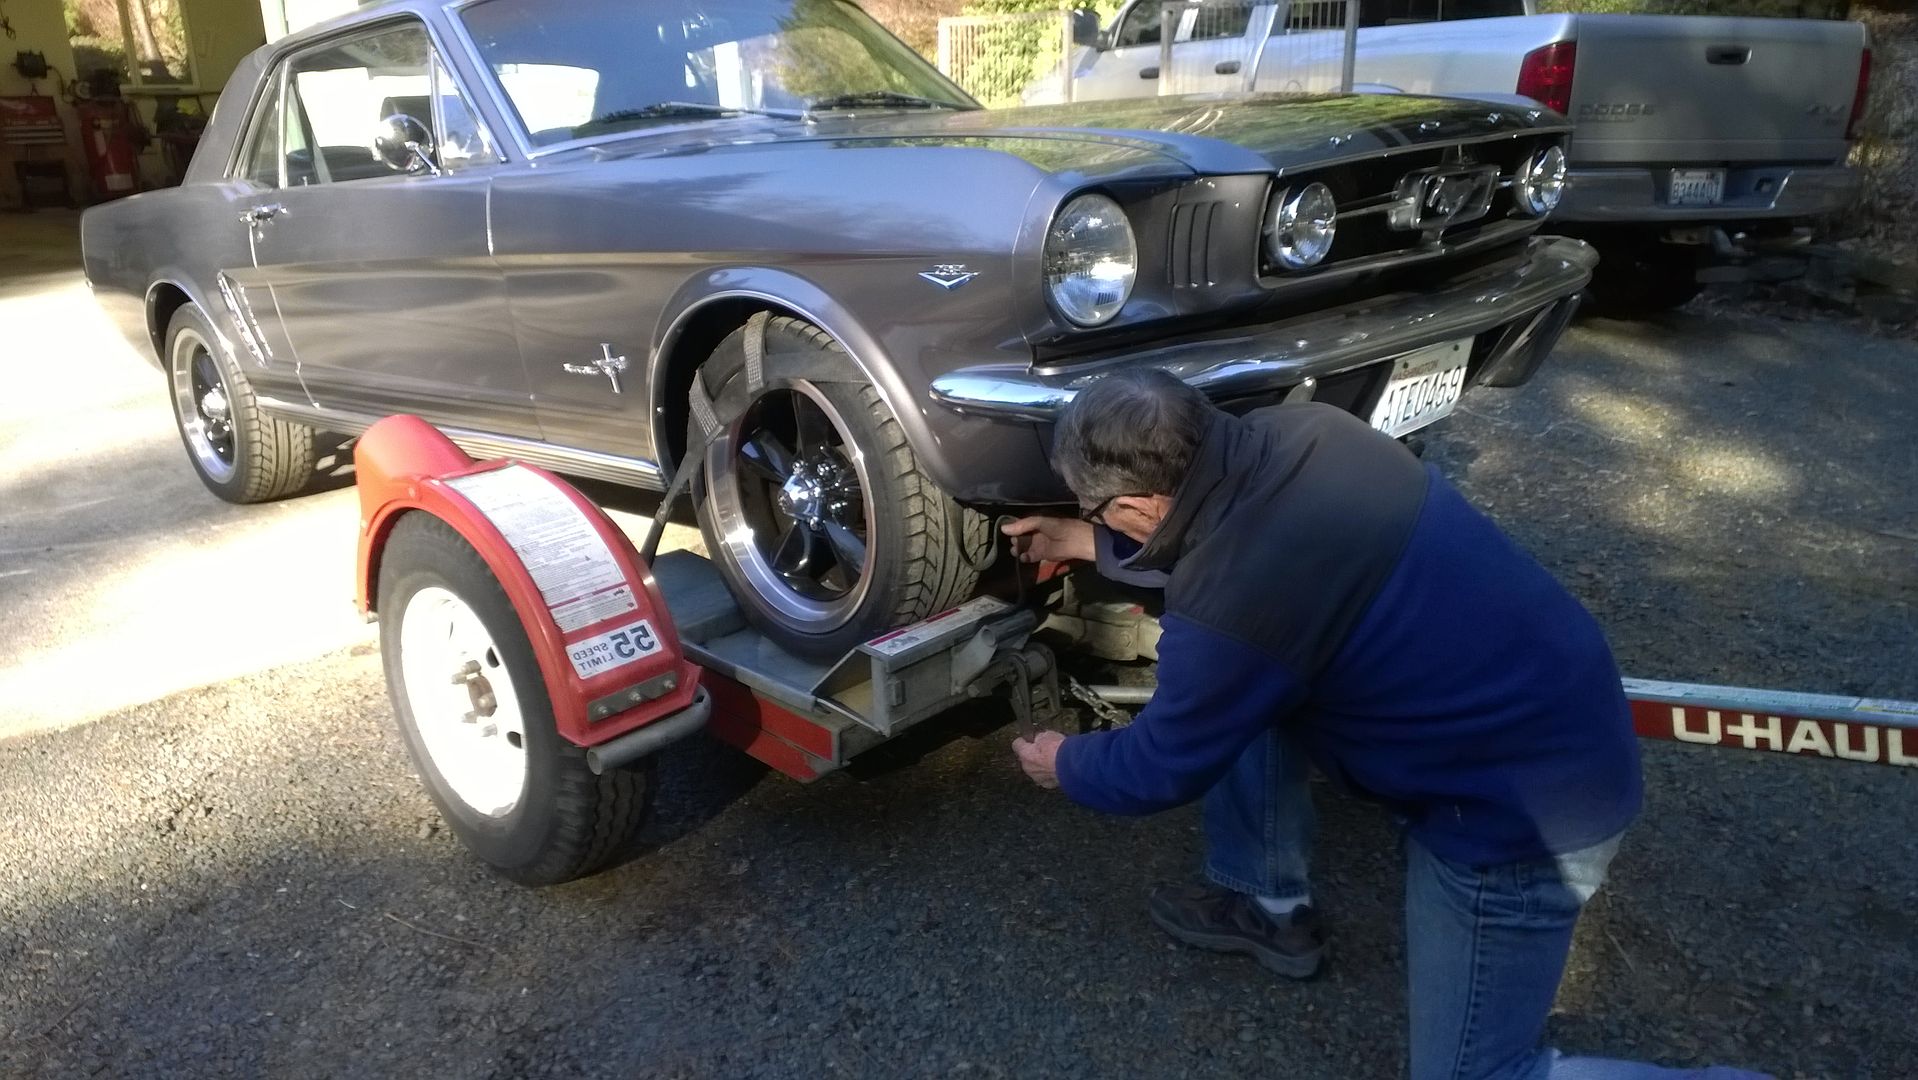
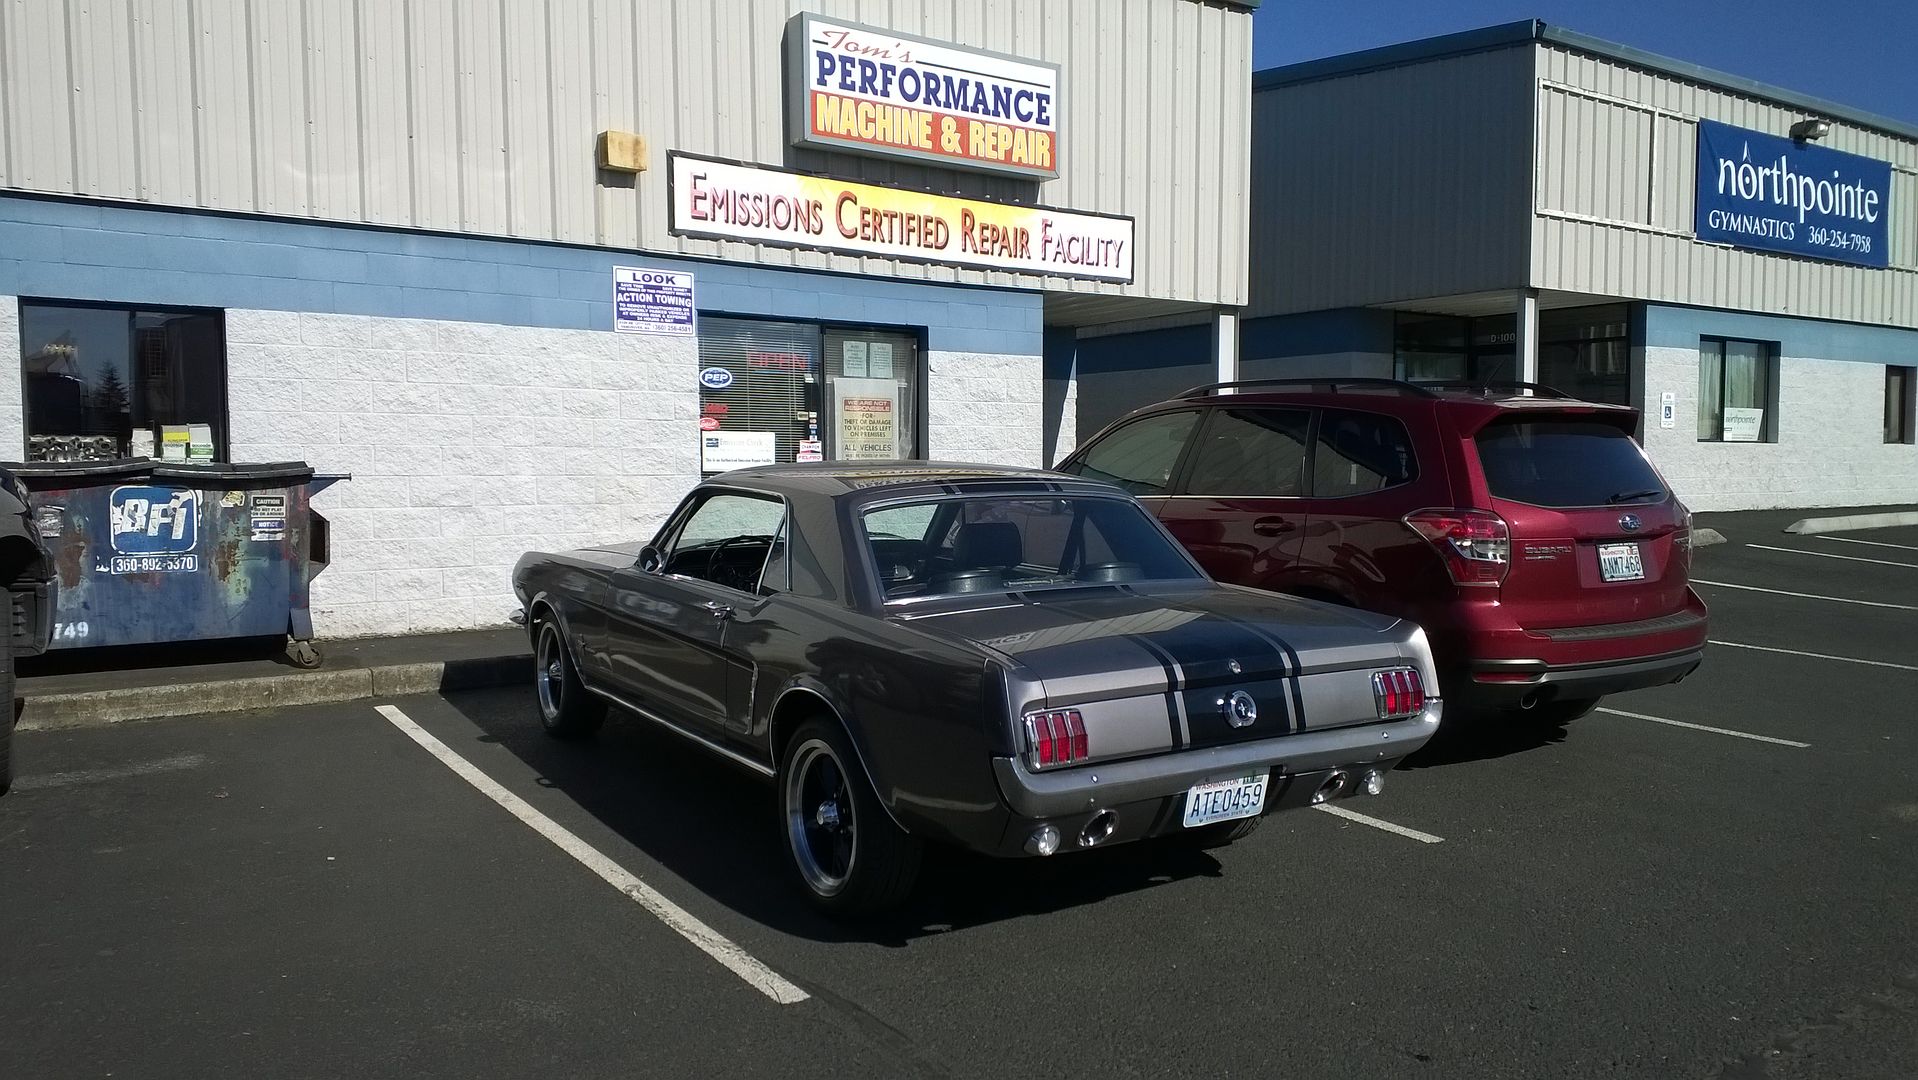
Unloaded at the machine shop.

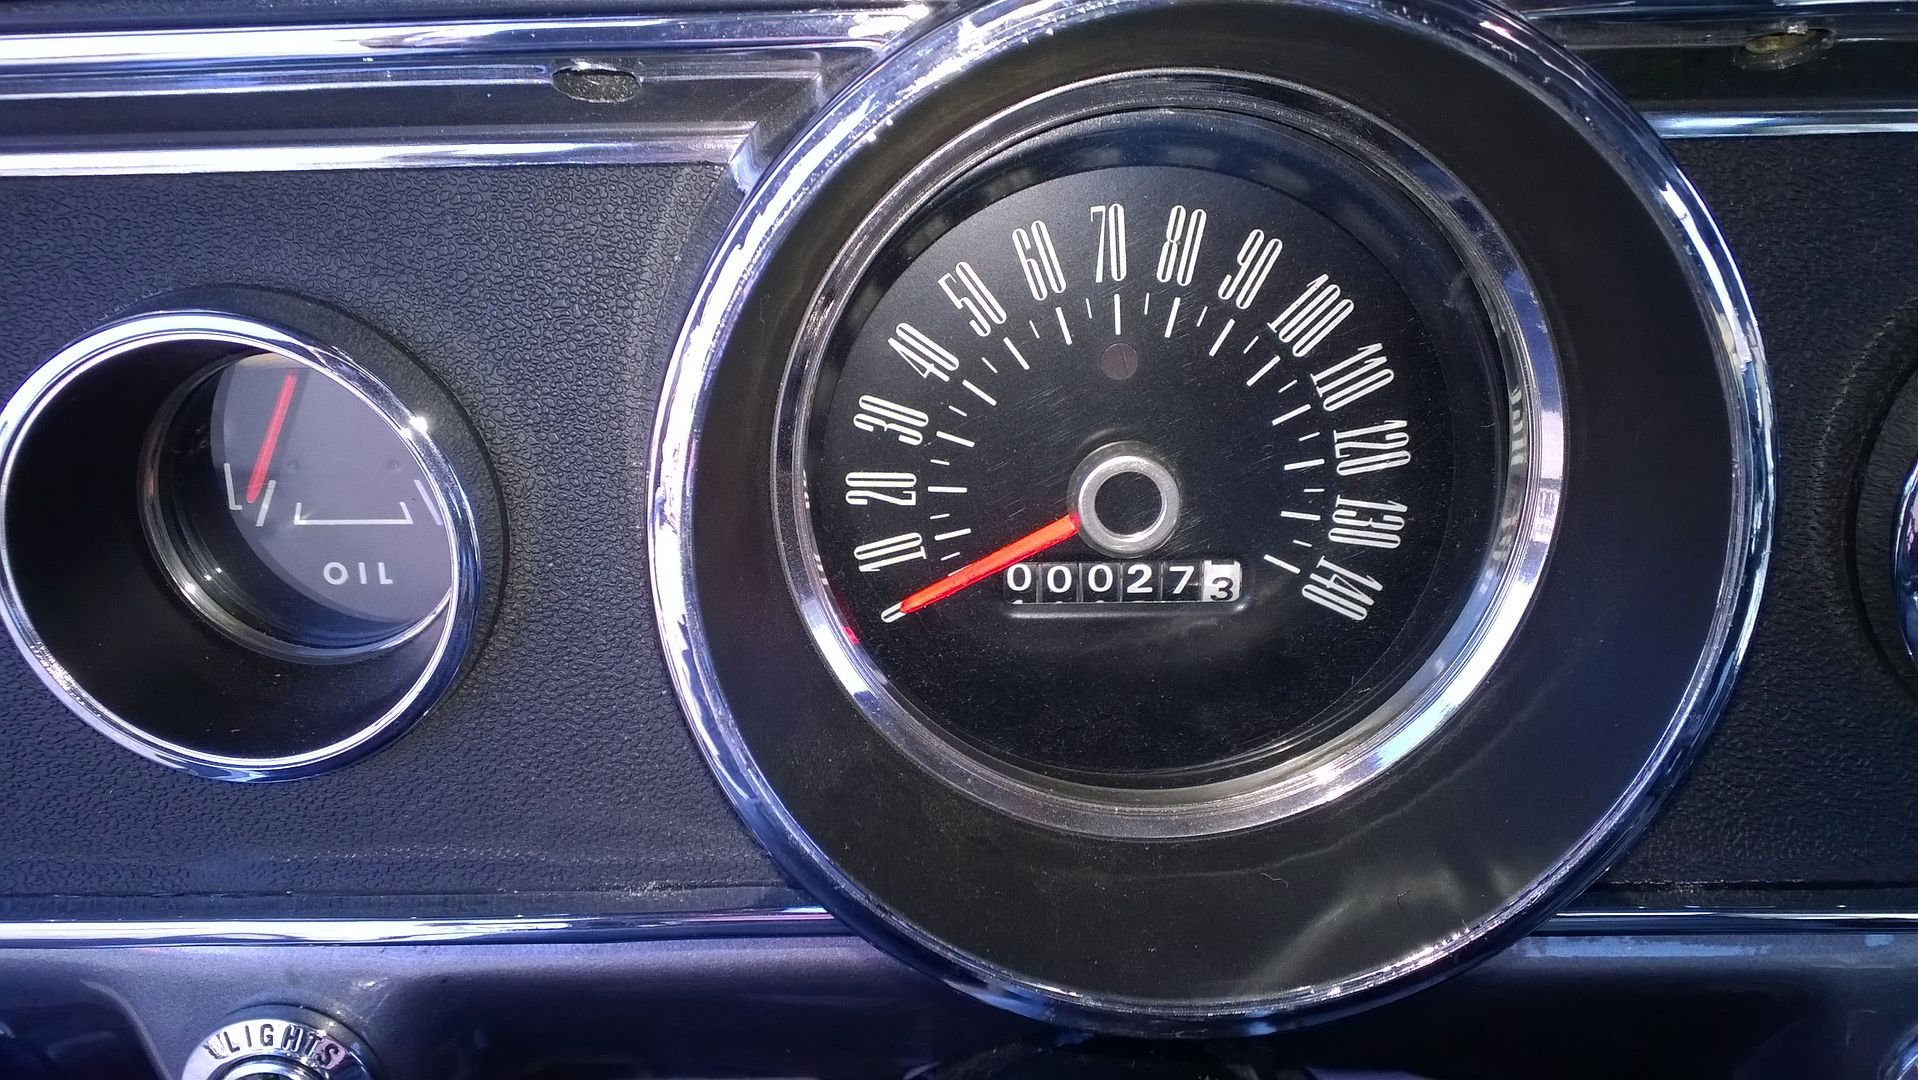
I was glad to know the odometer showed the mileage I had towed the car, proving the speedo cable was operating properly:


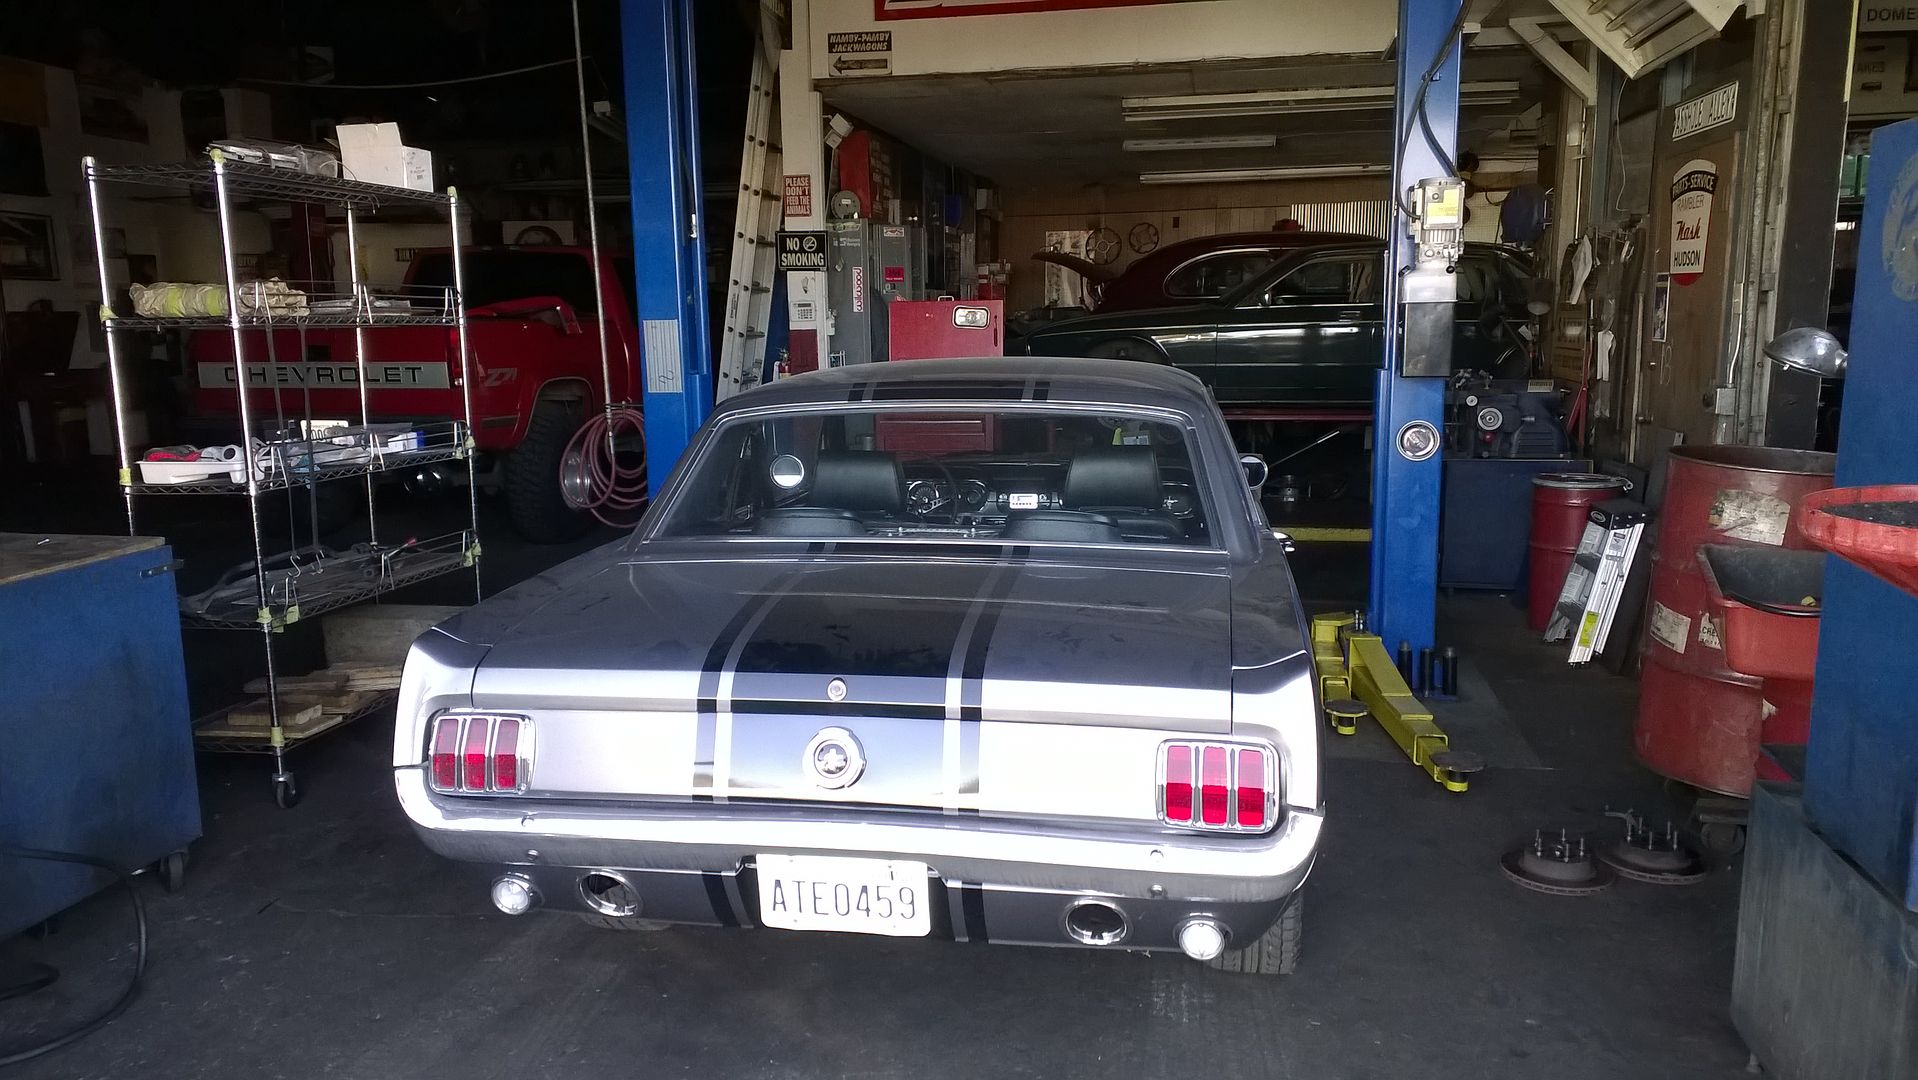
I loaded the car back on the dolly and hauled it over to the alignment shop.  They were not open on Monday, but were kind enough to meet me at the shop and store the car inside so it could be safe:
 
I then turned the trailer back in to the U-haul dealer. 

Tuesday I drove down to the shop after they had completed the alignment, and since the alignment shop and the muffler shop were only a mile are so apart, I drove the car over there.  I tried to take it easy, but I still set off a car alarm when I passed by.  But no ticket.  The good news is the car steered MUCH better.  I had eyeballed the alignment and ended up with 5 degrees of tow-OUT rather than the correct degree or so of tow-in. 

I left the car at the muffler shop:

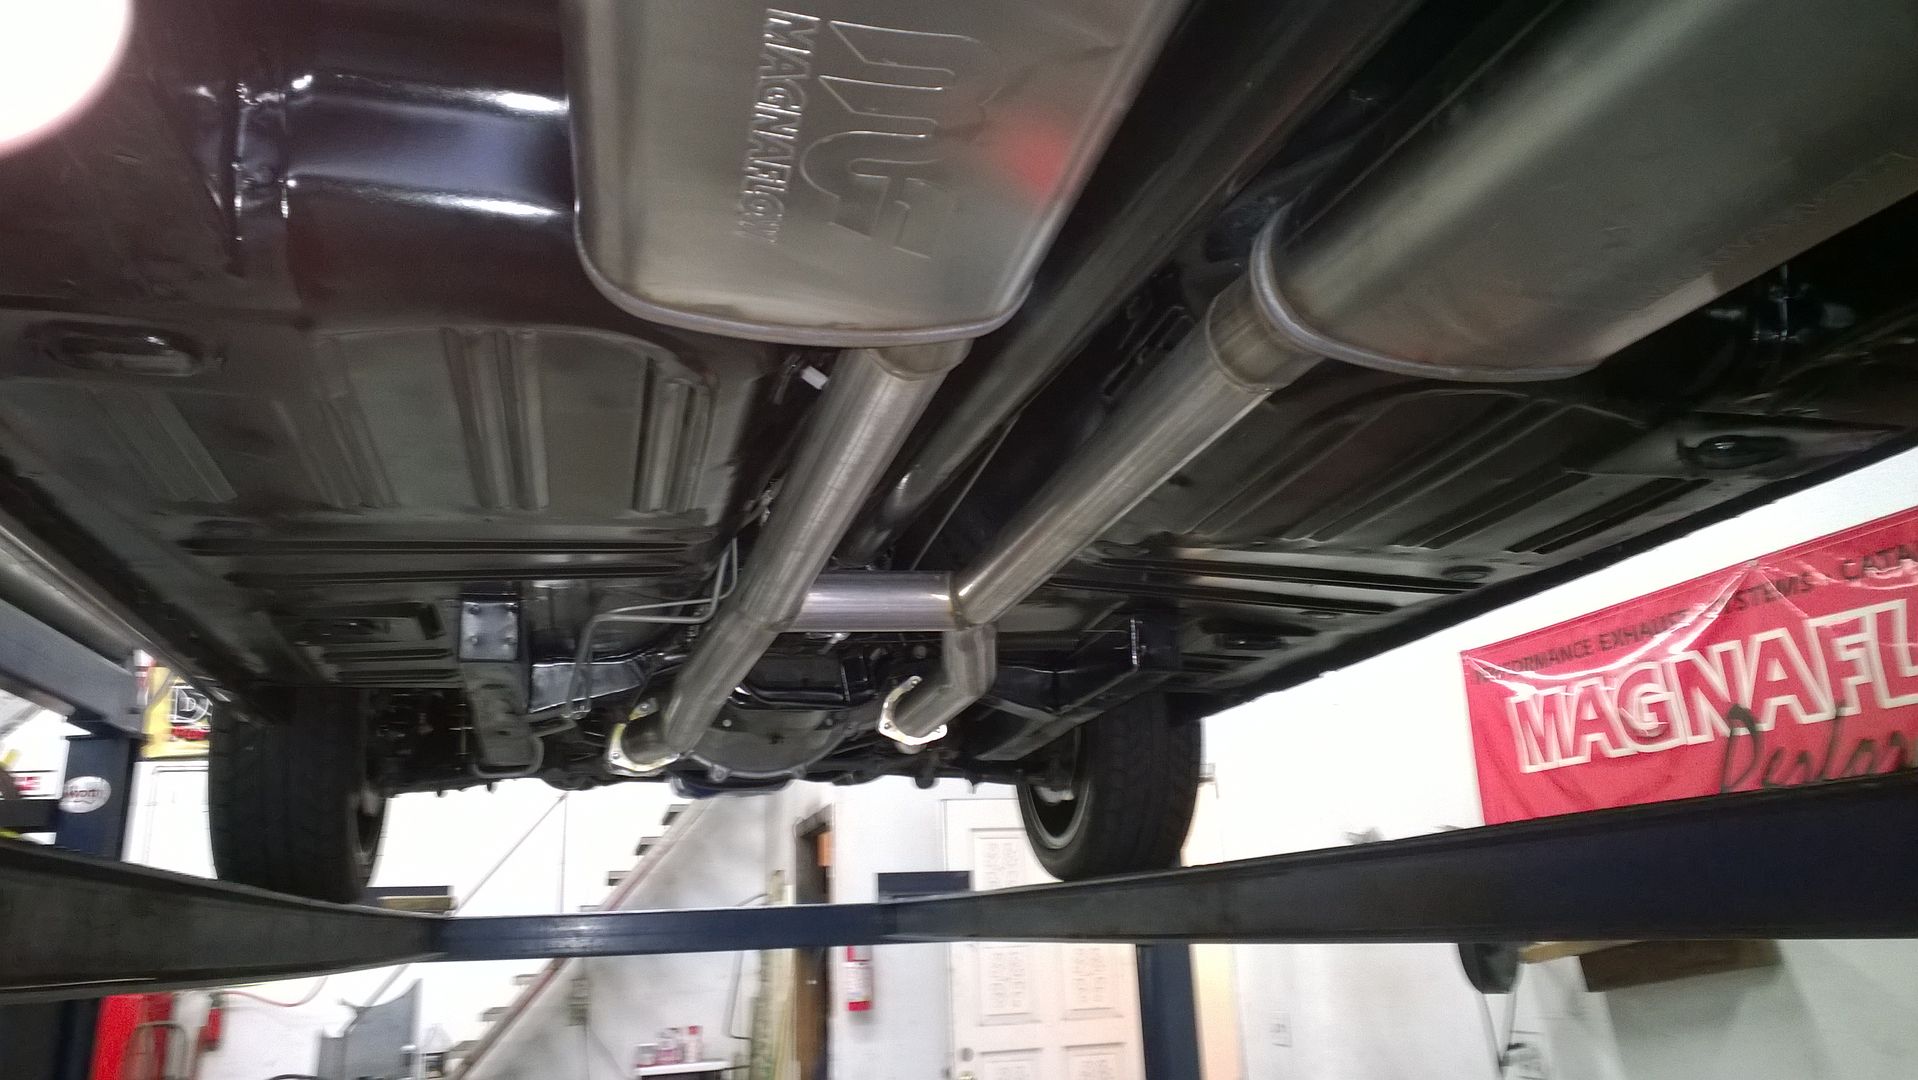
Wednesday afternoon I got the call that the exhaust system was done and drove down to get the car.  They did a real nice job on the exhaust:


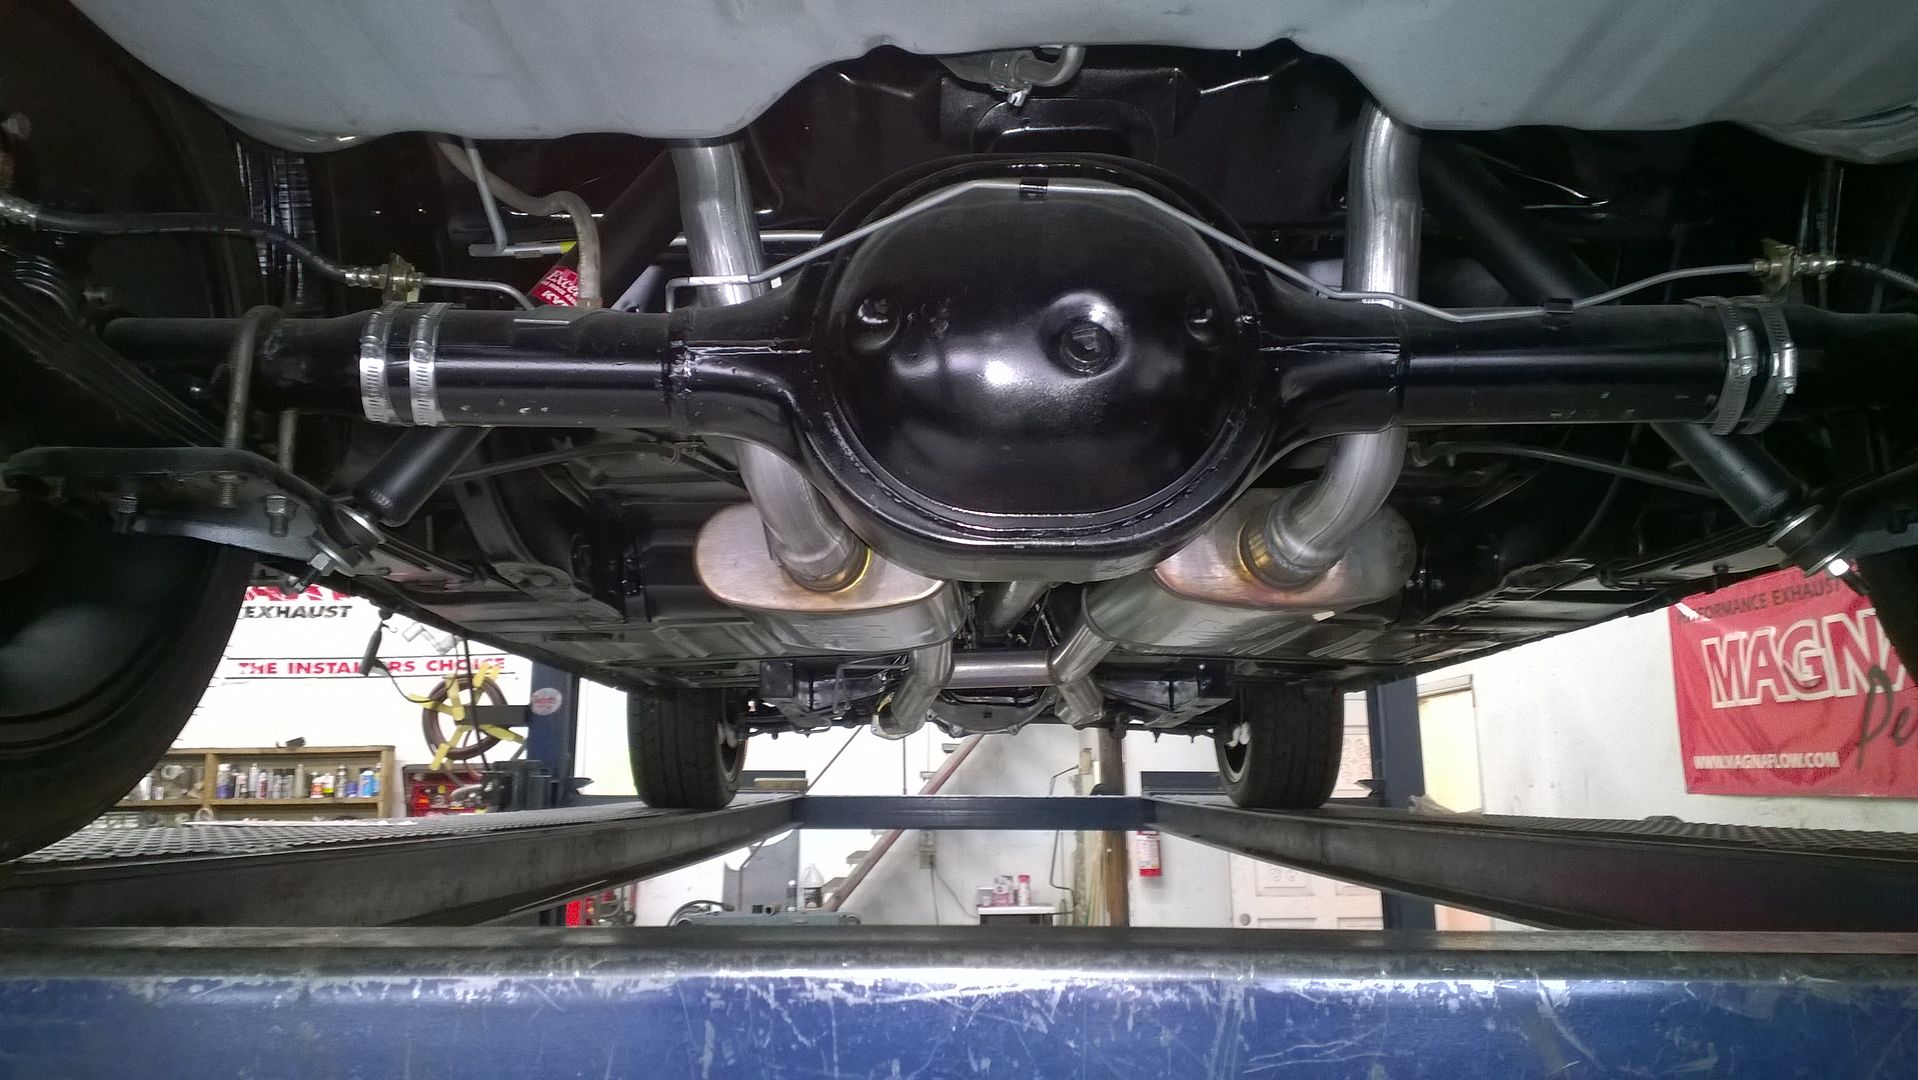
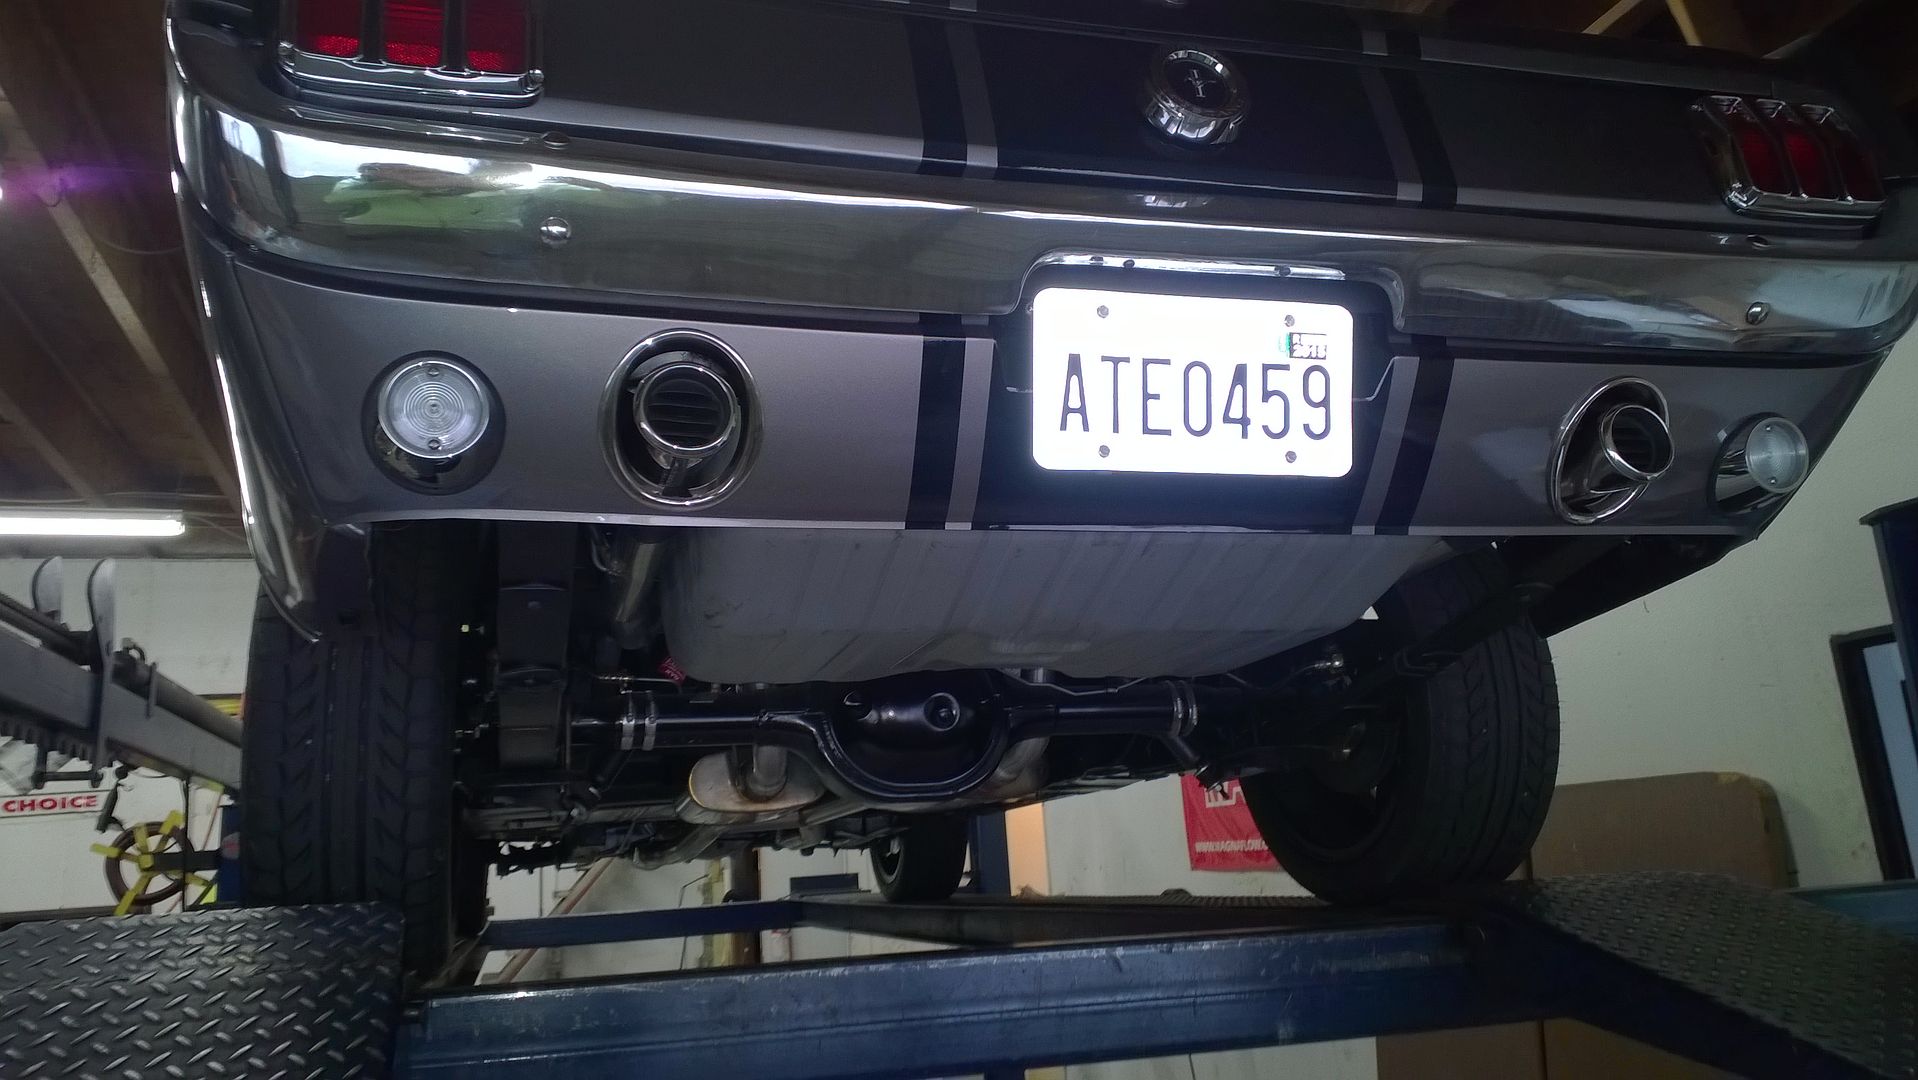
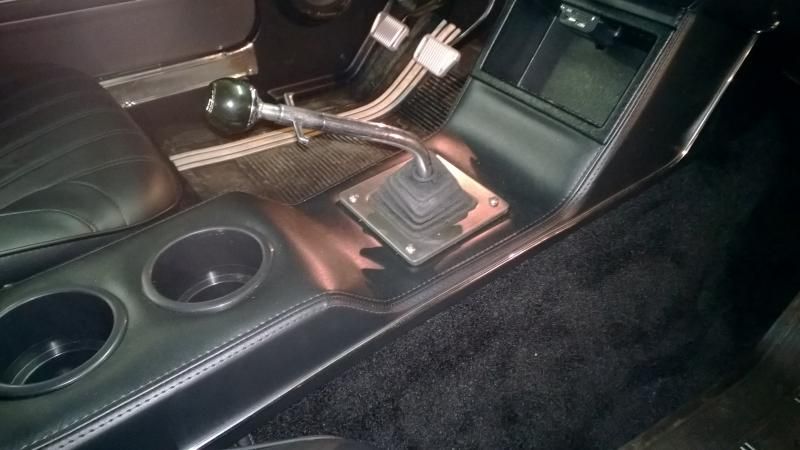
Then came the final test; I drove the car the 25 miles to my house.  It sounded great and ran fine........and IT WAS A DRIVER.  Definitely not like our new 2014 Honda Accord, but very acceptable.  It's going to take a little time to get used to it, just like any new vehicle.  Finding just where the gears are in the pattern is one of the first habits to learn, but all four gears are there.  Another nice thing to learn is that the car is pretty darn powerful.....lots of strong acceleration and a real torque master. 

Tonight I am a very relieved and happy man.  This was a huge three-year project and I was never confident I could pull it off.  I have heard lots of horror stories of half finished projects sold at a great loss, but this is not going to be one of them.  Without the internet and the help from my local parts guy, Del Pro Specialties, I wouldn't have had a chance. 

There are still a bunch of small things to do......install rear seat belts, get the radio sorted out, change the lube in the differential, get the brake pads seated, fix the minor oil leak in the drain plug gasket, etc.  I think an old car like this can be something you are always messing with for one reason or another. 

Sunday, February 1, 2015

Big Event!

Brian was down this weekend bringing some parts he got for Christmas and his birthday, and also brought the shift lever boot bezel that he had someone from his work make for him.  Toward the end of the day he made a video of the big event.  I'm having difficulty with Google Blogger, so the video can be viewed at this YouTube link: https://www.youtube.com/watch?v=2oDIyXXhsfY

 Getting the shift lever boot to fit with the after market console has been a minor hassle.  Now that it is done, it looks pretty good:
 

Another important item I was waiting for Brian to bring down was the fan he got as a Christmas present.  That, combined with the radiator I bought him for his birthday, allowed us to get the cooling system up and running.  The engine is complete, with the addition of the "Monte Carlo" bar that is supposed to add stiffness to the body.......but I think it mostly adds "bling":


Another bit of bling he got for his birthday were these billet pedals:


A lot of important things got checked out now that the engine could be run for as long as needed and the shift lever installed.  Namely:
 
The clutch and transmission work
 
The cooling system has no leaks, including most importantly, the heater core
 
The temperature gauge works, which means all the gauges (temp, oil pressure, fuel and voltmeter) have been checked out.
 
The backup lights work.
 
That's the good news.  The bad news is that the brakes are terrible.  Also, the alternator seems to be overcharging the battery.  I've bought a new voltage regulator to see if that solves the overcharging problem, as the voltage regulator was one of the few items from the original car and it may have gone bad. 
 
The brake problem has me baffled.  We installed four wheel disk brakes and a new master cylinder that is supposed to go with those brakes, and I bench bled the master cylinder and pressure bled the brakes.  We should have excellent braking, but instead it's difficult to stop the car in the driveway.  The pedal goes almost to the floor and pumping it makes no difference.  I'm beginning to suspect the master cylinder is defective, even though it is brand new.  Maybe the seals in the master cylinder piston are letting fluid back past them.  I don't know, but I guess I'll figure it out somehow.  


Thursday, January 22, 2015

It's ALIVE!

Before I share this video, I would like to apologize to some of my dear readers.  I have learned through back-channel sources (Facebook!) that some of you don't know what the heck I've been talking about in my last few posts.  But I know from other back-channel sources (emails) that others know exactly what I'm talking about.  Strangely, the split seems to be gender oriented.  I may try to be less technical in the future, or I may not......after all, it's my blog. 

The video below should be easy to understand.  To my great relief, the Mustang motor runs in the car with the new distributor and all the other bits that go along with it.  The squeal you hear at the beginning is a loose fan belt and I have fixed that. 
Notice how smooth it runs at idle.....no shaking at all.....a good engine balance and build.

There are still some critical things to do.......get an exhaust system built, final timing of the new distributor by the engine builder, and wheel alignment.  And the shift lever boot for the console.  And the radiator.  I can't run the engine for very long without coolant, and want to be able to run it longer to check out things like the alternator and voltage regulator, oil pressure and temperature sensor gauges, and the cooling system, radio, heater, defroster, etc.  (I did see that the fuel gauge works, and that I have no fuel leaks). 
 
All these things are necessary to see how it runs, but eventually we need to see how it drives.  How will the disk brakes work?  What will it be like with no power steering.  What is the handling like on this old style suspension and steering?  I remember it being a perfectly fine car back when I first owned it, but that was a long time ago and cars have changed a lot since then. 
 
But tonight I am a very happy man because the engine runs.  
 

Wednesday, January 14, 2015

Engine Progress

After the distributor glitch was solved, the next glitch was the crankshaft pulley.  Here is a picture of the pulley. Notice the ridge on the back of it (top in the picture):


And here is a picture of the crankshaft harmonic balancer that the pulley bolts onto.  Instead of a recess for the pulley ridge, the balancer has a ridge also:
 

the pulley ridge and the balancer ridge butted up against one another making it impossible to bolt the pulley to the balancer.  Turns out no one sold a pulley that fit the balancer, which was only used on half of the 1969 302 Mustang engines.  I could have opted to get a different balancer, but the whole rotating assembly of the engine was balanced by the engine builder and replacing the harmonic balancer might have upset this balance.  I went to my neighbor, who is a retired Boeing machinist who has a bunch of machine tools in his shop, and he used a boring bar to hog out the pulley center, eliminating the ridge and allowing it to fit snugly on to the balancer:
 

Next, I mounted the alternator and the fan pulley to see how they lined up.  It had to be perfect in order for the fan belt to not get derailed or wear out quickly.  With the help of some 0.19 inch shims on the fan pulley I got the line up perfect:
 

About the same time I installed the new red spark plug wires.  Normally this would be a simple 15 minute plug-in job, but the spark plug wires were the "universal" type, which meant I had to cut them to length and crimp on the  connector at the distributor end.  This took most of an afternoon and I had to buy a special crimping tool, but it looks like it came out OK:


I ordered some really trick looking aircraft type fuel lines and fuel filter, but they didn't fit the fuel pump, so I sent them back and bought hard lines and bent them to fit.  I had a tube bender that I used for the brake lines, but the fuel line was too big in diameter to use it, so I bought another one for the fuel lines.  That thing next to the fuel pump is the oil pressure sending unit and I had to add the extension pipe to get it to clear the cylinder head:


I added the cowl braces (angled pieces behind the engine), and now things are looking a little busy in the engine compartment, but still more to come:
 

Tuesday, December 30, 2014

It's All Starting to Come Together

Except for one small glitch........the distributor was too big.  The first evidence of this was that the air cleaner Brian had bought would not clear the distributor unless it was installed so high the hood would not close.  These pictures show how the only way it would go on is if was installed sideways, which was not acceptable:


I found a air cleaner that looked like it would fit and sort of matched the scheme of the valve covers:
 

It still looked pretty tall, though, and before we could put the hood back on and find out for sure I discovered the deal breaker.  The return heater hose needed to connect to the intake manifold right at the distributor.  There was no way I could install the hose nipple without removing the distributor, and even then it looked like there would not be enough room for it:
 

Removing the distributor to (possibly) install the fitting would mean re-setting the ignition timing and since I had to do that we decided to just bite the bullet and get another distributor that would be smaller and lower profile.  The big distributor was an HEI unit with the coil built into it; that's one reason why it was so tall.  The new distributor would require a separate coil and mounting bracket, but still cost almost $100 less than the HEI. 

The new one cleared the heater hose fitting and the air cleaner, and looks like it will clear the hood, but it will be close:


Notice in the above two photos that both exhaust headers have been installed.  That had me worried because I had seen posts online from people who said they did not fit.  It was close, but they did fit. 

I also installed the clutch linkage, the sift lever, the speedometer cable, and the back-up light switch.  Brian was down over the past weekend and we put in a starter motor that I got him for Christmas as well as some chrome alternator brackets.  It was he and I working together that got the driver side exhaust header in.  We put the hood back on, but I haven't closed it on the new air cleaner set-up because I want to get some modeling clay or putty to set on top of the air cleaner and see what kind of clearance I have. 

There are only two parts from the original driveline that we have reused; the differential and axle, and the driveshaft.  The driveshaft had to have a lot of rust and grease scraped and sanded off:
 

And then primed:
And painted:
 

 New U-joints fitted:


And the drive shaft installed in the car:


 Still lots to do, but I am entering into more familiar territory.  I have done a lot of the type of work coming up, and some of it on this very car. 


Saturday, December 13, 2014

Mustang Has a Motor!

I took the donor motor to a local engine builder and after a couple of weeks he had it ready.  The big day was scheduled for it to be run on a chassis dyno so that we could see the power output and be assured it was tuned and running well.  Brian came down for the occasion.  Here is the motor mounted in an old race car chassis and hooked up to a Dynojet dynamometer:


The builder started it up and ran it for awhile at moderate speeds to warm it up. It sounded great and ran super smooth. Then he started some max power runs:
 

He had it tuned to run with mufflers, which is the way we will have to run it on the street, but just for grins he removed the mufflers and ran it with just the exhaust headers.......we all had to wear hearing protection, but it sounded awesome!  There is nothing like an American push-rod V8 at full song.
 
 
Brian taking a sound effects video
 
Here are the stats of the dyno run taken without the mufflers.  The bottom graph shows it is running a little lean without the mufflers (the dotted red line is the optimum air/fuel ratio), but the rear-wheel horsepower is about the same......slightly over 200.  The builder said the horsepower at the crank, which is the way most engine horsepower is advertised, would be about 262.  Notice the nice flat torque curve also.  The engine is basically a stock blueprinted engine but makes some additional power with the addition on an Edelbrock intake manifold and carburetor, plus higher flow exhaust headers.  It should be able to run on mid-grade gas. 


We loaded it up in my truck and brought it home:
 
 
Then brought the hoist down, hauled it out of the truck and installed the  motor mounts, clutch and bell housing.  It sure is pretty, isn't it:
 
 
Before we could push the car over to the shed to receive the engine, we had to remove the hood.  I couldn't think of a safe place to store it but then Carolyn suggested we put it in the hallway.  What a wife, eh?


 So while Carolyn steered, Brian and I pushed the car over to the shed, then lowered the engine in and bolted up the motor mounts.  It's quick to write that process, but it took us several hours because all the holes in the motor mounts didn't quite line up:


After we got the motor in we pushed the car back to the shop and jacked it up for the transmission install.  This went smoother than I expected and somewhat made up for the difficulty in getting the engine in:
 
 
Still much to do, but these were big jobs, and from now on I should be able to work at my leisure.