Monday, February 22, 2016

Starting the Color Change

First job is to remove all the red bits from the new bike and start swapping over parts from my old bike. Removing the fairings has to be done carefully because of the hidden tabs that I don't want to break.  It takes some effort to separate some of the body panels, but its a fine line between enough effort and too much.

The seats are easy to remove and then comes the side panels:


Off


Then the middle cowl.  This picture shows some of the hidden tabs that I have to be careful not to break:


Middle cowl off:


Next the instrument surround and the headlight and windshield cowling:


The lower cowl and the rear cowl:


And finally, the gas tank.  I had to have Carolyn help me with this.  It took more than two hands to hold the gas tank up while at the same time disconnecting the fuel line from the fuel pump, which is inside the gas tank.


At least the front fender on my bike is the same color and doesn't have to be switched.  The chance to get a look at what's under the fairings on this bike makes me realize this is one very compact, complicated piece of machinery.  What a change from the Triumph.

I ended up with this pile of parts:


I also drilled and tapped new holes for the Ram mount for my Garmin Zumo GPS to be moved over to the new bike:


Since I left the heated grips on Jenny's bike, I bought new ones and installed them on my new bike:


With the lower cowl gone, it was easier to install the centerstand from my old bike:


Next week I'll start taking all the color parts off my old bike and then swap them over to my new bike, but for the rest of this week I'm going to do some riding as the weather is looking good.  I may even get the Triumph out for a spin.


Sunday, February 21, 2016

Jenny's New Bike

Well, sort of.  It's actually my old bike.  Well, sort of.  It's getting complicated and is going to take some explanation.

Jenny has been riding for two years and the Kawasaki 250 that I fixed up for her has been a great bike to learn on, but now she is ready for a move up.  There is nothing wrong with a 250, especially for a city commuter, but her 2006 Ninja is a design that goes back to the 1980's and a modern fuel injected bike would be a significant improvement.  The Ninja is also getting up in mileage, with about 35,000 miles on it.  So shortly after I bought my 2014 Honda CBR500R I realized it would be a perfect next bike for her.  She has ridden it a few times and likes it.  Since California rules allow a family member to gift a vehicle to another family member and avoid sales taxes, I decided to give Jenny my bike in return for whatever she can get for the Kawasaki.

That was the plan, but I ran into a couple of hurdles.  The first was that Jen didn't like the color of my bike.


Too "patriotic" she claimed.  You have to cut the girl some slack.......she lives in San Francisco where being patriotic is akin to being a conservative and definitely uncool.

OK, so I would find a used 2013 or 2014 that was in the color she liked (red), gift her that one, and keep mine.  I really like my bike and was perfectly happy to keep it, but I had Craigslist searches going all up and down the West Coast and I couldn't find another one that would work.  What turned out to be a serious problem was that in order to import a non-California smog compliant vehicle into California it had to have more than 7500 miles on it.  Most bikes I saw on Craigslist were left-over dealer models or used bikes with very low mileage.  I finally decided to get the best price I could on a used red one with less than 7500 miles and swap the colored parts with my bike, which has almost 14,000 miles on it and would be no problem.  A couple of weeks ago I found a private owner with a pristine red 2014 with less than 3000 miles at a terrific price, so I bought it.  This, then, is what Jen's bike is going to look like, but it will not actually be this bike, but will be mine with the red tank and plastic bits:


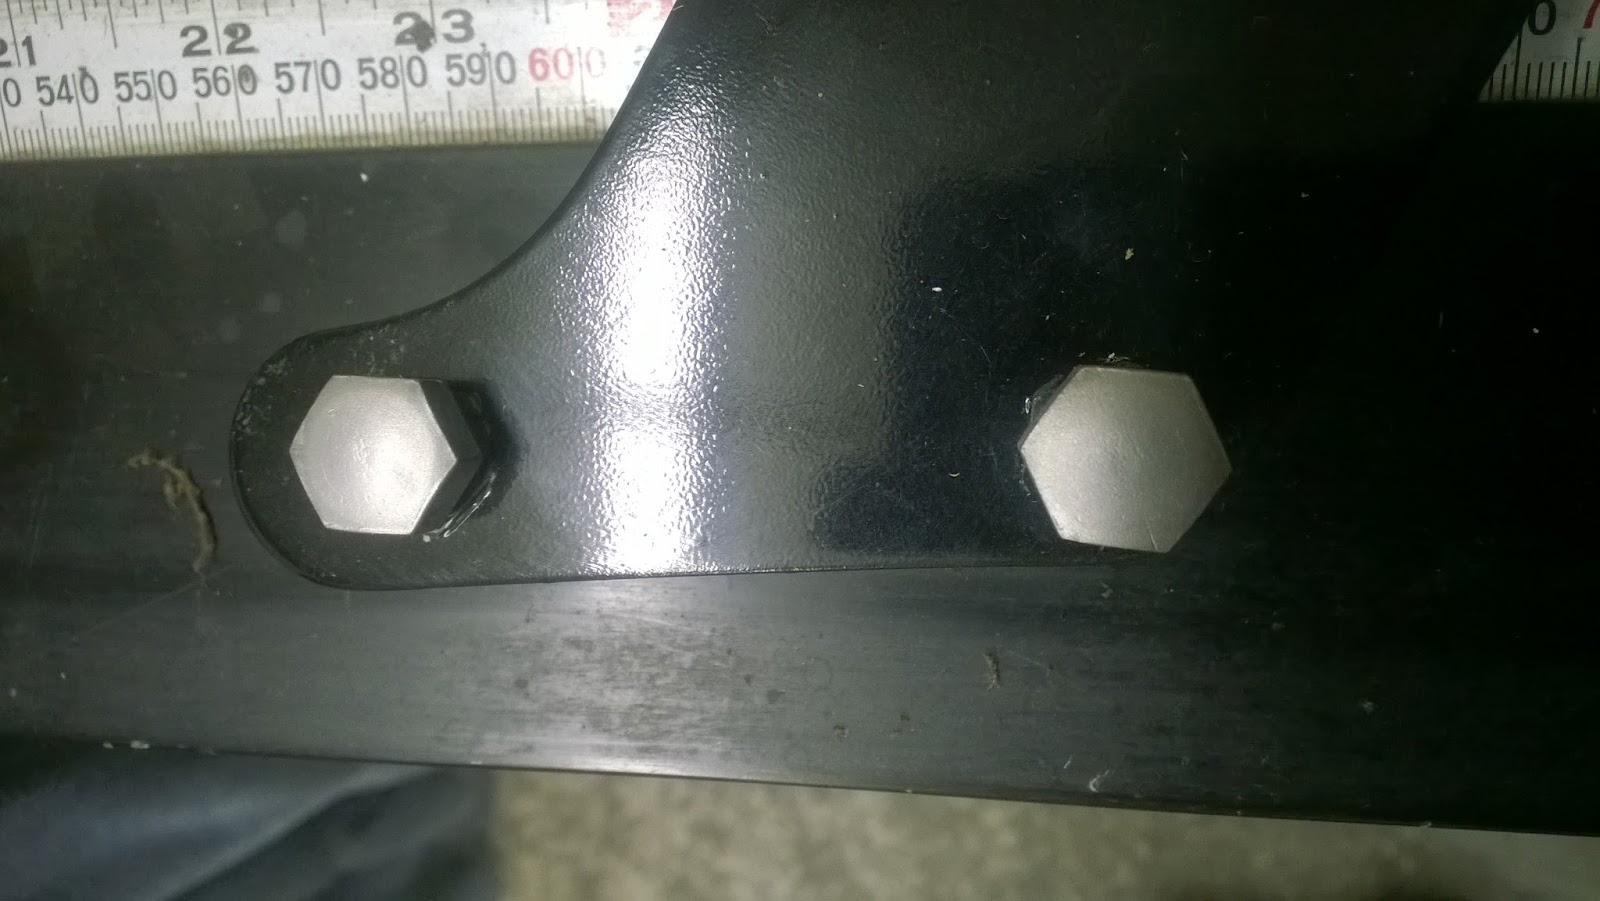
Today I started the conversion.  The first thing to do it remove the hard case brackets and the centerstand from my bike, so they could be switched over to the new bike.  I need a centerstand because I often take multi-day trips by myself and need to get the rear wheel off the ground to lube the chain. It was nice to be working with metric fasteners again.  I can look at a metric nut or bolt and know what socket or wrench I need for it, whereas with the Triumph and its wonky Whitworth or British Standard fasteners I could never figure out what I needed, and sometimes nothing seemed to work.   Here are the luggage brackets:


and removed, with the passenger grab handles back on:


The centerstand:


That was a bit harder to get off as it has a VERY strong spring that has to be unhooked.

Removing the fairings is not going to be easy.  Honda motorcycles are known for their excellent fit and finish, and the way they get such close fitting, rattle free body parts is with a lot of fasteners, of all types......some visible, but most hidden.  I have the service manual for the bikes, so I should be able to figure it out, but as an example of what the directions look like, here is a page for removing just one of the side fairings:


You might think it would be easier to just swap the odometer, but to get to the instrument cluster you have to remove almost all of the fairings anyway.  Since I am going to take some kind of hit money-wise I might as well gain a bike with more than 10,000 miles less than my current one.

Wednesday, February 17, 2016

Triumphant

The Triumph is pretty much done.  And it runs and everything works.......lights, horn, alternator, clutch, instruments, and did I mention, IT RUNS!  I made a short video of it running, but can't seem to upload it to YouTube.  I was a happy man.  It was like the first time the Mustang moved under its own power:

Talk about old school; I haven't kick started a high compression four stroke in many years, and I can barely do it now.  Unlike modern fuel injected bikes, there is a routine you must follow to get one of these things going.  The first thing you have to do is free up the clutch plates.  They tend to stick together making the clutch not release, which makes putting it in gear a potentially damaging event.  To free the plates, you pull in the clutch and kick the engine over until the kickstarter moves freely (no longer turning the engine).  Next, turn both petcocks on (one for each carb).  Then "tickle" the carbs by pushing a button on each carb that pushes the carb float down and floods the engine slightly.  When a little gas flows out of the tickle buttons you have done enough.  Now turn on the ignition and move the kickstarter unil you feel the resistance of a compression stroke.  Now jump on it! (giving it just a little throttle).

Once it's running, there is no sound like a classic Triumph twin, and it's pretty loud too.  Even though the bike has stock mufflers, they are straight through, with just diffusers in the side.  I remember back when I had a 1967 500cc twin I strapped an old portable wire recorder on the back and went for a ride just to record the "music".

At the moment it has no leaks of any kind, which is kind of strange......it is British, you know.  We will see how that turns out.

There are still a few things I plan to do.  The tach and speedo are in need of a rebuild, but I may just buy some replica ones instead.  I may also swap the clutch and brake levers for some newer type that should have a shorter reach; I first need to see how the stock ones feel when actually riding the bike.  I look forward to that first ride, but it may be awhile because I am not going to ride it on wet roads, and where I live the roads stay wet after a rain for a long time because of all the shade from the tall trees.

Enough chat.  Here are some pics of the final product:


Sunday, January 31, 2016

Coming Together

I've got the front end pretty well done with the exception of the instruments.  It took new fork tubes, fork seals, fork oil, fork caps, and new front brake cable, plus new handlebars and grips.  The headlight was reinstalled with all the wiring hooked up.  Testing revealed the headlight worked, but the horn didn't: I'll work on that later.


I think this was the first year of this type of front brake.  It is a "double leading shoe" drum brake that was about as advanced as a drum brake could be.  Still not near as good as a disk brake.


My new handlebars are narrower than the originals to make the bike feel more modern.  The grips are also more current and comfortable than the barrel grips that were stock.  I'm keeping all the old stock parts so that when I sell the bike the new owner can restore it to showroom stock if he wants:


Orv gave me his old bead blasting cabinet and I have been using it to clean up nuts and bolts.  Here is an example of what they look like before the blast treatment:


And after:


Now I can move on to the middle of the bike.  I wanted to get the front done so I can roll the bike off my workstand if I need to do any maintenance on my Honda CBR.  I installed the battery tray and the breather tube that runs along side the rear fender and out the back of the bike.  Then the left side exhaust and passenger and rider footpegs:


Not everything goes smoothly.  Remember that oil tank paint job that I bragged about in the previous post?
Just before I started to re-install it on the bike I decided to take a look inside it.  Shining a flashlight down into it and taking a peek revealed it was all gunked up with old oil grundge.  I couldn't risk that clogging up oil screens or getting into engine parts, so I tried dissolving it with paint thinner and sloshing it around.  That was going pretty slow, so I tried gasoline.  That cleaned out the oil tank, but ruined my new paint job.  I decided to do the job right and get the tank powder coated, so it is out to the powder coating shop, which conveniently belongs to my fellow riding buddy Ross' son Chris.


Tuesday, January 19, 2016

Slow Progress

Progress on the Triumph has been pretty slow, but that's OK.  I have plenty of time before warm, dry riding weather and I'm trying to stay under $200 per month for parts.

The most expensive parts so far have been the spokes and tires, but I also decided to get new fork tubes when I found out they were not too expensive and my old ones were not in the best of shape.  These new fork tubes turned out to be a problem, though, which is going to add more expense.  I have been noticing all along in this restoration that my bike had some differences from Orv's 68 Bonneville.  The impact of these differences finally became an issue when I attempted to put my old fork caps and bottom bolts into the new fork tubes.  They didn't go.  Thanks to some research by the parts person, Cassie, at the Portland store where I ordered the fork tubes, we discovered that my bike is an early 68 production model that apparently had some carryover 67 parts on it, and the fork tubes were one of these parts.  The thread type for the fork caps and bottom bolt were different than the fork tubes.  I have read that Triumph would make changes like that in the middle of a production run.........part of their poor quality control reputation.  Anyway, it meant either sending the fork tubes back, or getting new fork caps and bottom bolts that matched the new forks.  Since the fork caps were a little dinged up anyway, I decided to bite the bullet and for another $50 or so, get new fork caps.  Here is a pic of the bike with the new forks, fork seals, and fork gaiters installed and waiting for the fork caps to arrive:


The gas tank was removed and polished up.  Lucky for me the paint was still in good condition from the paint job I applied 20 years ago:


I removed the oil tank because I decided to repaint it.......it just wasn't quite as good as it should be.  Here it is curing inside the house where it is nice and warm:


Even while I'm waiting for parts, or money to buy parts, there are always small jobs to do to keep me busy.  One of these was to polish the cases on the right side:


I also bought some new oil hoses and fuel line and fuel filters.  The old stuff was either rotting (oil hoses), or so hard from old age they would have cracked from the vibration of the running engine (fuel lines).

Still lots of parts to find their way back onto the bike.  I am beginning the re-assembly mode.


Friday, December 25, 2015

More Deconstruction

I got the rear tire mounted and the wheel re-installed on the bike after cleaning up all the frame and swingarm parts:


I'm a little disappointed in the size of the rear tire.  The stock size is supposed to be 4.00 x 18, which is the old style tire designation meaning 4 inch width on an 18 inch rim.  When I ordered the new tire, I had the choice of 4.00, 4.25, or 4.50.  I chose the 4.25, and yet it seems narrower than it should be.  I measured it and it measures almost exactly 4.00 inches wide, but it looks skinny.  The jury is out until the bike is done and on the ground, but it would be expensive and a hassle to replace the tire with a 4.50 just to gain a little width, and merely for appearance sake. 

I cleaned up the rear fender and chain guard and then got the bike ready for front end work:


On removing the front wheel in preparation for re-spoking it, I discovered a mistake I made in the first restoration.  The spokes on the left side were all laced so that the ends were on the same side of the hub:


A closer look shows that some of the spokes don't fit the holes in the hub very well:


I had two sources for how they should look; one was the service manual and the other was the parts book.  The parts book diagram looked like the way I had them, but the service manual showed them alternating from inside the hub to outside.  I checked with my friend Orv, who has a couple of these old Triumphs, including a 1968 Bonnie like this one, and he said the spokes on both bikes alternated.  So that is how I laced them, and it looks a lot better:


I found my Harbor Freight tire mounting machine worked well for lacing the wheel without having to remove the axle and wheel bearings:


Next, I trued the wheel on my balancing rig and then mounted the new tire and tube.  I still need to get some spoke mounted wheel weights because the front rim is too narrow to use the stick-on type weights I used on the rear wheel:


Despite the fact that I replaced the fork seals in the previous restoration, they still leaked when I test rode the bike back then.  So now I have to take them apart and find out what went wrong.  The first step is to remove the handlebars, instruments, and headlight, which contains a lot of the wiring harness. 


Then the forks:


Another couple of  mistakes were discovered in this process.  The pinch bolt on the lower fork clamp was loose, and the top yoke of the triple clamp was also loose, even though the bearings were properly torqued.  It makes me wonder about myself as I was 20 years ago;  was I less careful in my work?  Or am I still making mistakes like that?


Monday, December 7, 2015

Some Disassembly Required

First up on the Triumph was some clean up and polishing.  I  got the primary case looking pretty spiffy:

Notice the exhaust pipe has been removed.  I took them both off to start polishing the chrome, and also removed the rear wheel in preparation for lacing up new stainless steel spokes I had ordered:


Here is the wheel getting ready for me to remove the brake drum and then dismount the tire.  Getting the tire off was a real chore because the tire was hard as a rock after more than 20 years. It had almost 100% tread, but was worthless.


When the spokes arrived, I proceeded to take the wheel apart.  Lacing spokes can be a daunting task, and most people recommend having it done by a shop.  I've done it before; in fact I did it to this bike on the first restoration.  That time I tried to polish each spoke individually, but they are made of galvanized steel that does not polish worth a darn.  This time I'm going all out with stainless steel.......expensive, but pretty.

The worst part of lacing a wheel is figuring out where to start......what hole in the rim does the first spoke go into?  Which hole the next one?  After awhile it gets obvious what the pattern is, but the start is hard.  There are two different lengths of spokes for the two sides of the hub, and two different types of holes in the rim that face different directions.  To make it easier, I numbered each of the hub holes and put a matching number on the rim for that spoke, before I took the wheel apart.


Then after all the old spokes were removed it was just a matter of putting the ends of the new spokes in the right holes.  Sounds easy, but it still took me a couple of tries and most of an afternoon to get the wheel complete.  The next tricky bit is getting the wheel trued.  The spoke nipples are first hand tightened and then gradually tightened with a spoke wrench while checking the wheel for run-out, or wobble.  To do this i used this dial-gauge setup:


If the wheel is moving over towards the dial gauge, I mark the wheel at the greatest deflection and loosen the spokes slightly on the dial gauge side and tighten them on the opposite side.  Vice versa if the wheel moves away from the gauge.  In the end, I got the run-out to around .005 inches.  I don't know what the specs are, but I think that is pretty good.  The wheel also has to be checked to make sure the hub is in the center of the wheel.  If not it will cause "hop".  By tightening the spokes slowly and evenly all around the wheel, it is pretty likely that the hub will be in the center.  If it is not, you have to loosen a bunch of spokes on the short side and tighten them on the opposite side.  It came out fine on my wheel.  I used to ride dirt bikes with a lot more wobble and hop than this wheel, but on a street bike it is more important to get it minimized for a smoother ride.  A final check for spoke tightness is made by striking each spoke with the spoke wrench, and going for the same high "ping" note for each spoke and tightening those that have a dull "thud".

Next, I put the brake drum back on the drive side of the hub.  The original bolts holding the drum on didn't look all that wonderful; the threads were smashed in the part of the bolt that went through the drum.  I replaced the bolts with grade 8 hardened SAE bolts and nuts, and used a paint pen to label the drum so that the next guy working on it will know they are not Whitworth fasteners.


The next step is to balance the wheel.  I've mounted a new tire, but I need to find a source of wheel weights for spoked wheels.  The wheel is pretty far out of balance and I'm going to need about 3 oz of weights.